How to Configure ML.NET with NinjaTrader 8 by Ninja Coding
Check Proof of Content here:
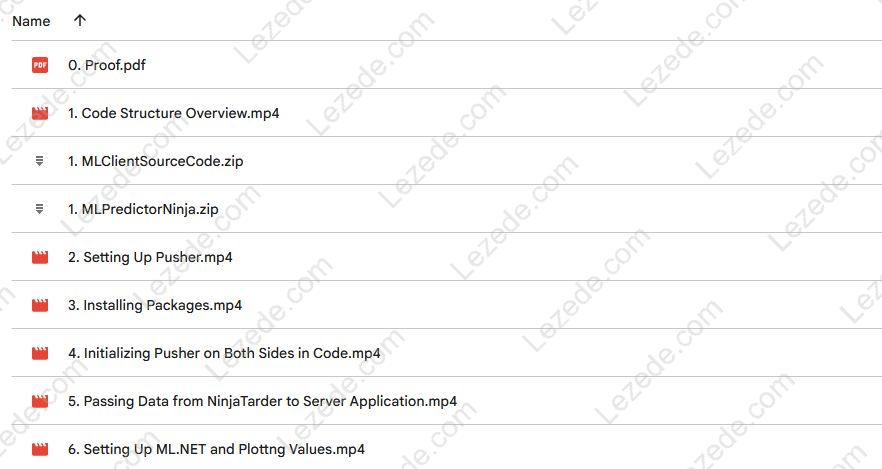
How to Configure ML.NET with NinjaTrader 8 by Ninja Coding – Watch Content Proof here:

How to configure ML.NET with NinjaTrader 8 by Ninja Coding: A Detailed Review
Incorporating machine learning into trading platforms may initially seem complex, especially when using advanced tools like ML.NET alongside NinjaTrader 8. Fortunately, with clear guidance and structured steps, this integration becomes far more accessible. This article provides a step-by-step breakdown of how to connect ML.NET with NinjaTrader 8, including everything from setup and data extraction to model deployment and validation. With these insights, traders can boost their strategies by harnessing the potential of machine learning.
Step 1: Installing ML.NET
The first essential phase in integrating ML.NET with NinjaTrader is ensuring the proper installation of the required components. Begin by confirming that NinjaTrader 8 is installed on your machine. Next, you’ll need to add the ML.NET package into your project using NuGet, a widely used tool for managing .NET libraries.
Installation Steps:
-
Launch NinjaTrader and open your custom script or add-on project.
-
Navigate to the NuGet Package Manager.
-
Search for and install the
Microsoft.MLpackage.
Installing this library provides access to powerful tools for processing data, training machine learning models, and evaluating predictions. ML.NET was built for .NET developers, offering a streamlined integration of ML features into any .NET-based environment.
Ensuring that the installation completes without errors is crucial. Missing dependencies or incomplete setups can lead to complications in future steps, so take the time to verify everything is in place.
Step 2: Creating an ML.NET Project
After setting up ML.NET, the next move is to create a project specifically for building and training your models. This is best done within Visual Studio, which offers a comprehensive environment for coding and testing.
Steps to Get Started:
-
Open Visual Studio and select “Create a new project.”
-
Choose a Console App using either .NET Core or .NET Framework.
-
Give the project a clear name like “MLTradingModel.”
-
Add the ML.NET packages to your project via NuGet.
Visual Studio’s AutoML tools can assist in choosing the best-performing model based on your data. Feeding in your historical trade data allows the tool to test various algorithms and identify the most accurate option for your needs.
Tips for Project Setup:
-
Clean and preprocess your dataset before training.
-
Try multiple algorithms (e.g., classification, regression) to compare results.
-
Evaluate performance using metrics that align with your trading goals.
Finding the best model is vital, as better predictions lead to more precise trading decisions.
Step 3: Exporting Data from NinjaTrader
With the project in place, the next focus is gathering quality historical data from NinjaTrader. This data will serve as the foundation for training your ML models.
How to Export Data:
-
Open NinjaTrader and choose your target instrument and time frame.
-
Navigate to the “Historical Data” tab.
-
Export your selected data in either
.csvor.txtformat.
These file formats are well-supported by ML.NET and make it easier to feed clean, structured data into your training pipeline. Ensure each column (date, price, volume, etc.) is clearly labeled for best results.
Data Management Tips:
-
Remove any anomalies or data outliers before training.
-
Keep all values standardized (e.g., consistent currency units).
-
Use clear headers to simplify data parsing in ML.NET.
Well-prepared data sets the stage for stronger models and better insights.
Step 4: Integrating the Model into NinjaTrader
After you’ve trained a model, you’ll need to bring it into NinjaTrader for use in live or simulated trading. This typically involves exporting your model as a DLL (Dynamic Link Library) and referencing it within NinjaTrader.
Steps for Integration:
-
Compile your ML.NET model and export it as a DLL file.
-
Add the DLL reference to your NinjaTrader project.
-
Link the model in your NinjaScript code.
This allows the model to be used directly in your strategies, making real-time predictions based on incoming data.
If DLL Integration Fails:
-
Consider building a REST API that hosts your model.
-
Use HTTP requests from NinjaTrader to send input data and receive predictions.
Although using a web service introduces additional complexity, it can offer enhanced flexibility across multiple platforms and environments.
This stage is essential as it connects your data science work with actual trading logic in NinjaTrader.
Step 5: Executing and Testing the Model
With your model integrated, it’s time to observe how it performs under market conditions. Start by testing in a controlled environment to avoid unnecessary risks.
Execution Guidelines:
-
Use a simulation or demo account for initial testing.
-
Measure performance metrics such as win rate, return on investment, and drawdown levels.
Additional Considerations:
-
Monitor how your model reacts to changing market dynamics.
-
Regularly retrain your model using the latest data to maintain performance.
Tracking Model Success:
-
Visualize results using performance charts or dashboards.
-
Adjust parameters and strategies based on outcome trends.
Testing allows you to refine your model iteratively, ensuring better alignment with real-world conditions.
Step 6: Support Resources
As you navigate through this setup process, having access to reliable resources can accelerate your learning and problem-solving.
NinjaCoding Offers:
-
Tutorial Videos: Clear instructions for each integration step.
-
Detailed Docs: Guidance on coding structure and handling issues.
-
Community Access: Connect with other users to exchange ideas and solutions.
Leveraging these materials can simplify your experience and empower you to handle challenges effectively. Active participation in developer communities often leads to valuable new strategies and techniques.
Conclusion
Pairing ML.NET with NinjaTrader 8 opens up exciting possibilities for traders looking to implement machine learning. By walking through each phase—from installation to live testing—you’ll gain the ability to craft smarter, data-driven strategies. With help from NinjaCoding’s tools and support network, you can overcome common roadblocks and build a more adaptive trading system. Machine learning is no longer just a buzzword—it’s a practical tool for anyone serious about improving their market performance.