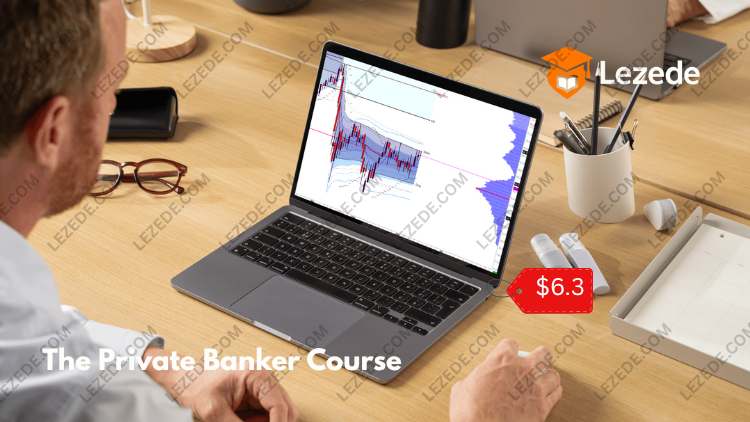
The Private Banker Course
Check Proof of Content here:
PNG Sample – The Private Banker Course, Watch here:
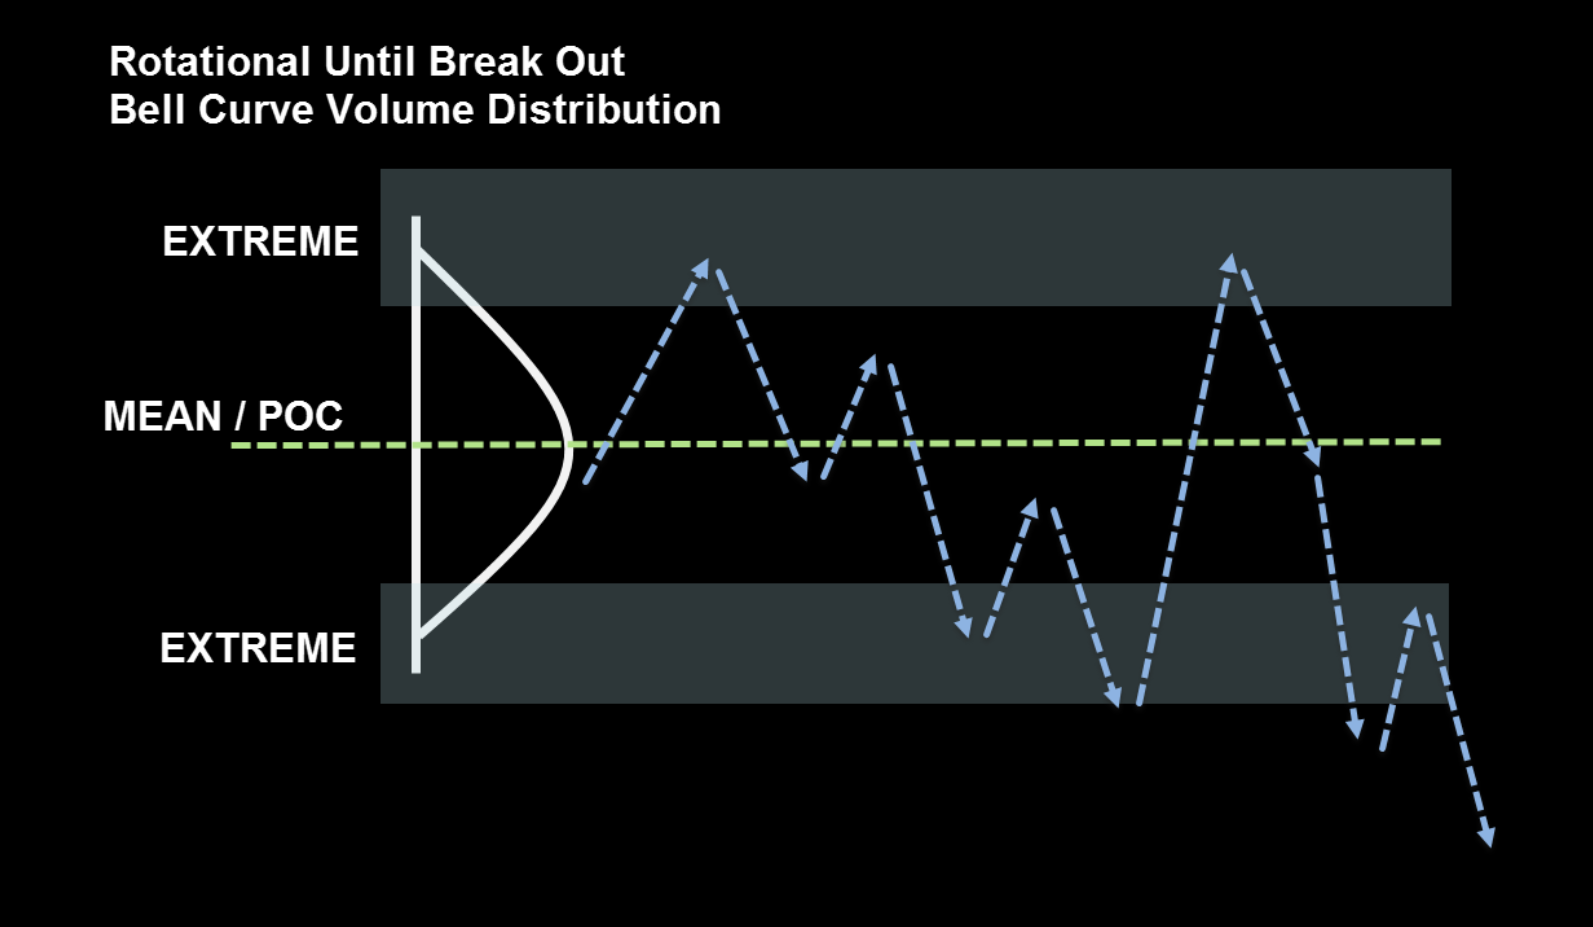
To comprehend the general market structure and the path of least resistance, we use top-down (macro to micro) technical analysis. Understanding what the market is saying us and incorporating it into an intra-day and swing trading theory is a filtering process. Management of Risk Possibly the most crucial component of our daily trading is risk management. In fact, risk management should be the primary focus of any “trading method” that is developed. Traders who engage in intra-day “proprietary” trading run a number of dangers that go far beyond simply considering a stop loss. Methods of Trade Develop your skill set using a variety of tools, including footprint charts, TPO profiles, volume profiles, and other details. Every session, we go over a few general filters that we use in conjunction with our strategy and the broader market environment.
What’s inside this course:
- PID- The Private Banker
- 1.1 Introduction to the Trading Methodology Section.png
- 1.2 Introduction to the Trading Methodology Section.png
- 1.3 Introduction to the Trading Methodology Section.png
- 1.4. Introduction to the Trading Methodology Section.png
- 1.5 Introduction to the Trading Methodology Section.png
- 2.1 Balanced Profiles – Rotational.png
- 2.2 Balanced Profiles – Rotational.png
- 2.3 Balanced Profiles – Rotational.png
- 2.4 Balanced Profiles – Rotational.png
- 2.5 Balanced Profiles – Rotational.png
- 2.6 Balanced Profiles – Rotational.png
- 2.7 Balanced Profiles – Rotational.png
- 3.1 P Shaped Profiles.png
- 3.2 P Shaped Profiles.png
- 3.3 P Shaped Profiles.png
- 3.4 P Shaped Profiles.png
- 3.5 P Shaped Profiles.png
- 4.1 b Shaped Profiles.png
- 4.2 b Shaped Profiles.png.
- 4.3 b Shaped Profiles.png
- 5.1 Double Distribution Profiles.png
- 5.1 Opportunity Risk.png
- 5.2 Opportunity Risk.png
- 5.2. Double Distribution Profiles.png
- 5.3 Double Distribution Profiles.png
- 5.3 Opportunity Risk.png
- 5.4 Double Distribution Profiles.png
- 5.5 Double Distribution Profiles.png
- 5.6 Double Distribution Profiles.png
- 6.1 Gaps.png
- 6.2 Gaps.png
- 6.3 Gaps.png
- 7.1 Real Profile Examples.png
- 7.2 Real Profile Examples.png
- 7.3 Real Profile Examples.png
- 7.4 Real Profile Examples.png
- 7.5 Real Profile Examples.png
- 7.6 Real Profile Examples.png
- 7.7 Real Profile Examples.png
- 7.8 Real Profile Examples.png
- 7.9 Real Profile Examples.png
- 7.10 Real Profile Examples.png
- 7.11 Real Profile Examples.png
- 7.12 Real Profile Examples.png
- 7.13 Real Profile Examples.png
- 7.14 Real Profile Examples.png
- 7.15 Real Profile Examples.png
- 7.16 Real Profile Examples.png
- 8.1 Incorporating the Initial Balance – The Private Banker.png
- 8.2 Incorporating the Initial Balance.png
- 8.3 Incorporating the Initial Balance.png
- 8.4 Incorporating the Initial Balance.png
- 9.1 Basic Risk Grid.png
- 9.1 Trade Entries and Exits.png
- 9.2 Trade Entries and Exits.png
- 9.3 Trade Entries and Exits.png
- 9.4 Trade Entries and Exits.png
- 9.5 Trade Entries and Exits.png
- 9.6 Trade Entries and Exits.png
- 9,7 Trade Entries and Exits.png
- 9.8 Trade Entries and Exits.png
- 9.9 Trade Entries and Exits.png
- 9.10 Trade Entries and Exits.png
- 9.11 Trade Entries and Exits.png
- 10.1 Layering.png
- 10.2 Layering.png
- 10.3 Layering.png
- 11.1 Measuring the Success or Failure of a Trade.png
- 11.2 Measuring the Success or Failure of a Trade.png
- 11.3 Measuring the Success or Failure of a Trade.png
- 12.1 Before Analysis.png
- 12.2 Before Analysis.png
- 12.3 Before Analysis.png
- 12.4 Before Analysis.png
- 12.5 Before Analysis.png
- 12.6 Before Analysis.png
- 12.7 Before Analysis.png
- 12.8 Before Analysis.png
- 13.1 Follw Up.png
- 13.2 Follow Up.png
- 14.1 Volume Profile Concepts of the Distribution.png
- 14.2 Volume Profile Concepts of the Distribution.png
- 14.3 Volume Profile Concepts of the Distribution.png
- 14.4 Volume Profile Concepts of the Distribution.png
- Midas VWAP.mp4
- Risk Management.mp4
- The Market Maker Presentation.mp4
- Top Down Analysis.mp4
- Volume At Price.mp4